
I finally got around to doing this DIY and I absolutely love how it turned out :)
Here's how I did it!
1. If you want to achieve the distressed look, you're going to need a pair of good scissors and kitchen tongs. (you can always use tweezers, but tongs get the job done way quicker)

2. Cut rugged holes in the areas of the shorts that you desire and hack at those edges with the tongs (carefully, that is).

3. Next, get your items ready for the bleaching process.
You are going to need a reasonable size of a bucket, regular bleach, gloves, and anything with stiff bristles. (toothbrush will do the job, but this tub scrubber is just so much better, heh)

4. Depending on the size of your bucket, you're going to just eye the amount of bleach you pour in.
I poured about 2 inches full and started bleaching the bottommost part of my shorts.

5. Check on your shorts frequently and when you do, (using gloves) carefully adjust the shape of the shorts to meet your desired gradient effect. My bleaching process took approximately 30-40 min in total. Cover your working area with newspapers and trashbags. Using your gloves, reach into the bucket and squeeze as much bleach out from your shorts as possible and lay flat.

6. Using your scrubbing tool, dip bristles into remaining bleach from bucket and brush along the edge where the white and blue meet. This simply helps achieve a better gradient effect.

7. The last step! Take your shorts to the nearest tub or sink and (using your gloves), wash off the excess bleach. Now, throw your shorts into the wash & dryer! :)
Finished product:

Also, if you want to go the extra mile, you can add studs to the shorts like I did!
I got these silver circular studs from Michael's for $2.99.

I decided to stud a small section of just one side. I spaced them out to be 1 in apart from each other.

CAREFULLY, press against the face of the stud to pierce the back brad into the shorts. When pierced through, use tweezers to bend the two brads down.
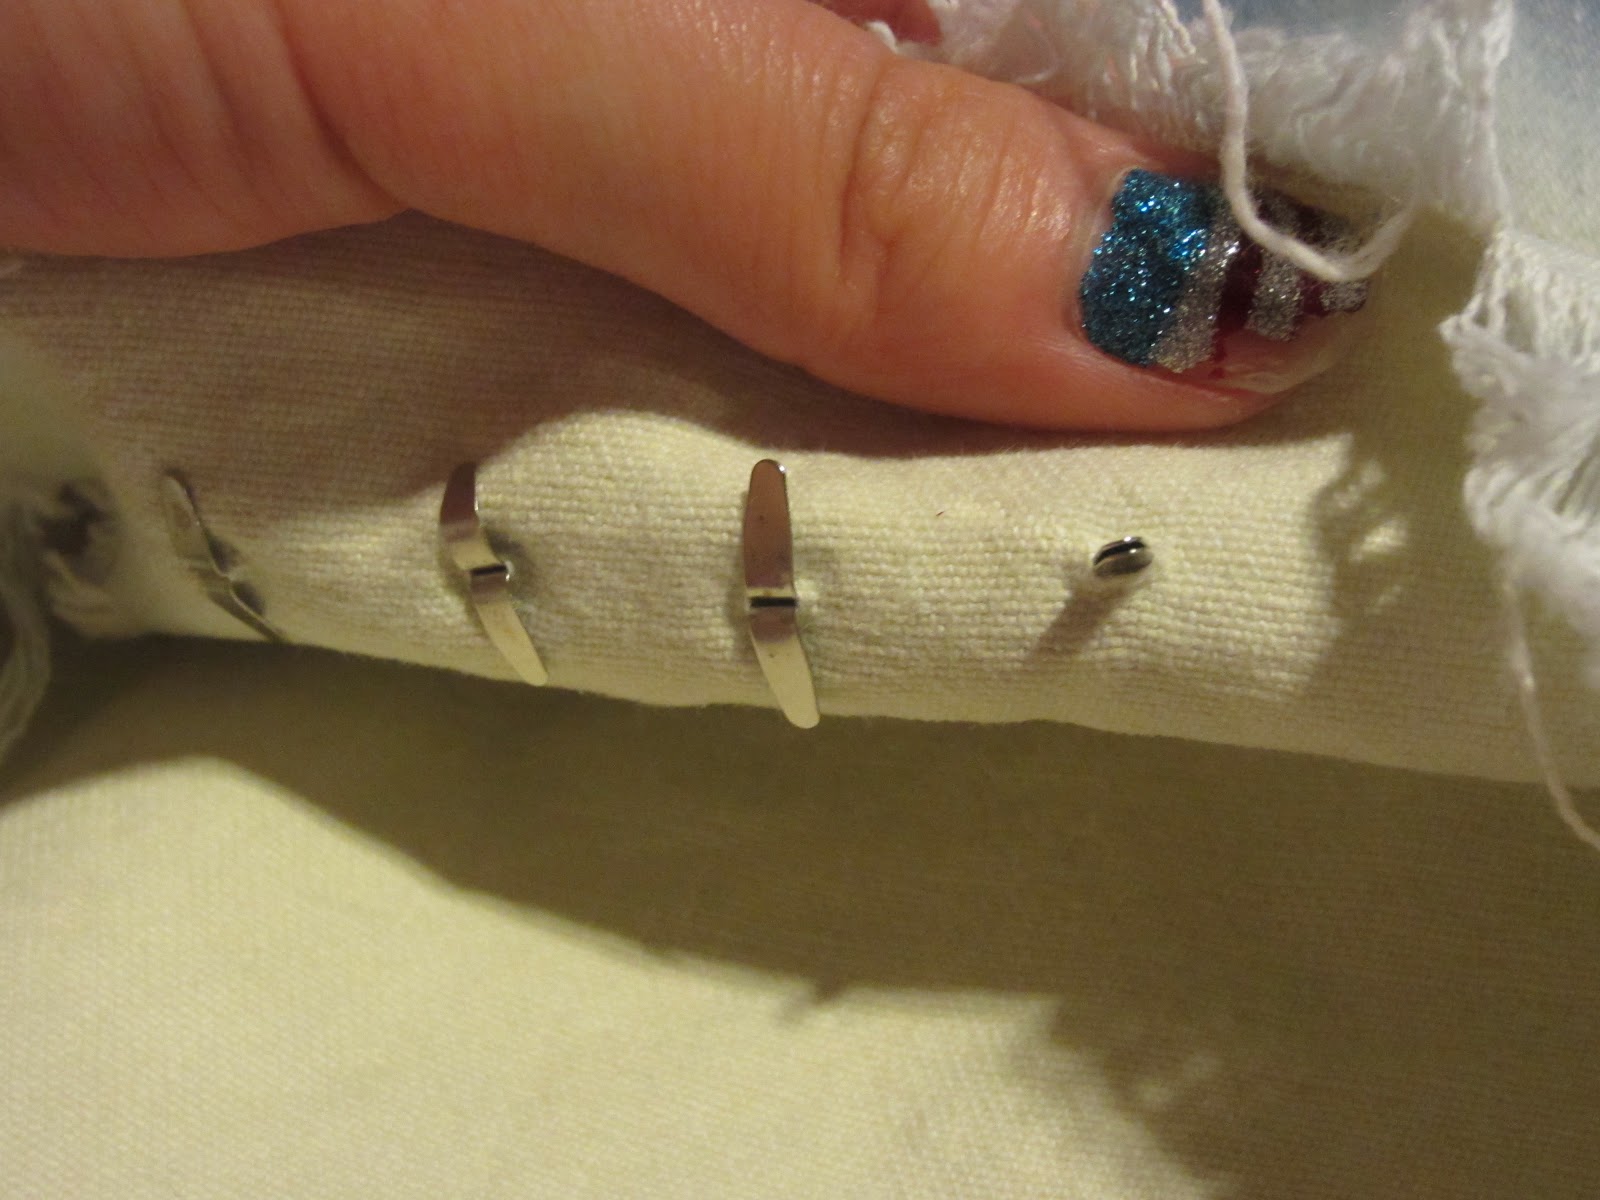
To make life easier, use a pen to make small marks!

All finished! I love them!

let me know how yours worked out if you tried this project! :)

10 comments:
Great post !
& thank you for your comment :) xx
I like the shorts. I want to try this soon, but its so hard to find high waist jeans to cut up and such.
-Keturah
http://dreamsofseams.blogspot.com
Thanks! Yeah, at first it was difficult for me to find hw shorts too but my tip is try the kids section at thrift stores. You'll be surprised :)
Thank you :) & you're welcome!
cool blog!
I invite you to check out my blog.
-loyaltofashion.blogspot.com
the shorts came out so CUTE!
THank youuuu,
I haven't gotten a chance to wear them yet but I will have an OOTD posted once I find what to wear it with :)
- Great Post DIY & Ur Blog It's Cool ;)
Hope To See U In Mine !
xx
Your pictures were really helpful!
I would just like to add a tip: try putting a teaspoon of laundry soap to the bleachy water. It will help keep away the yellowyness in the white.
Post a Comment